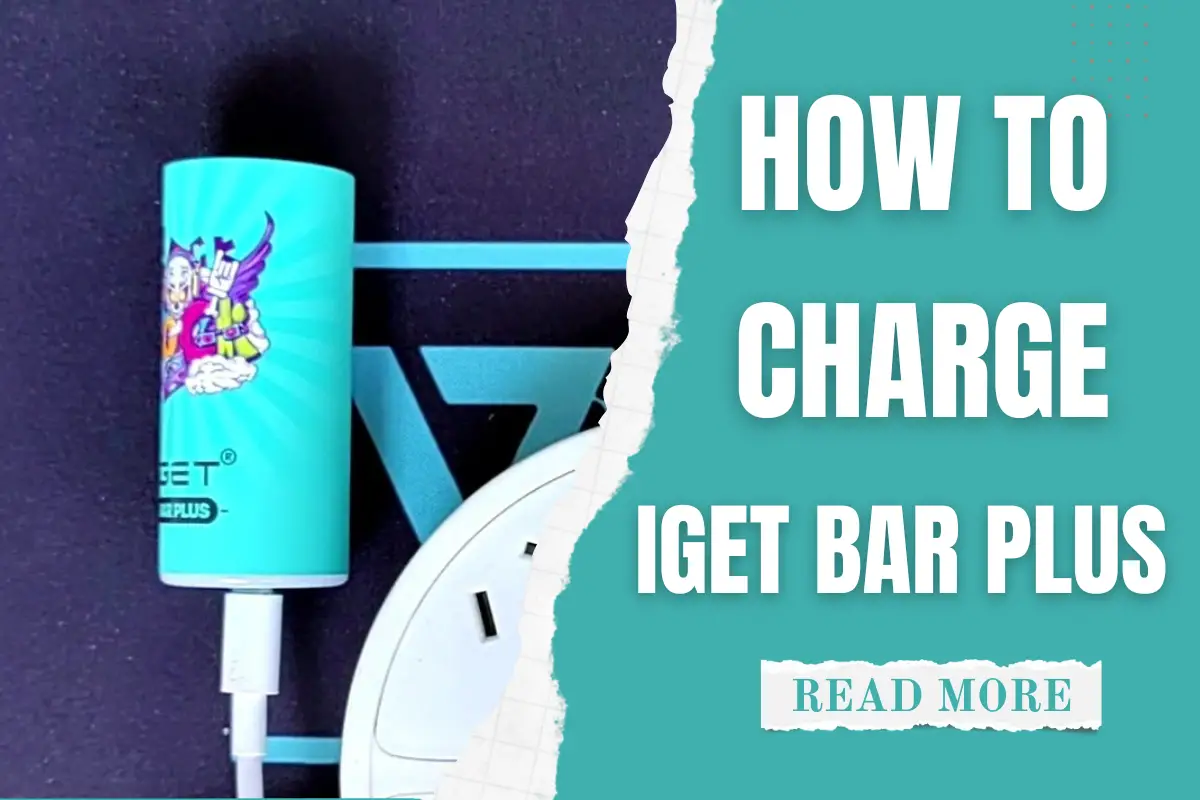
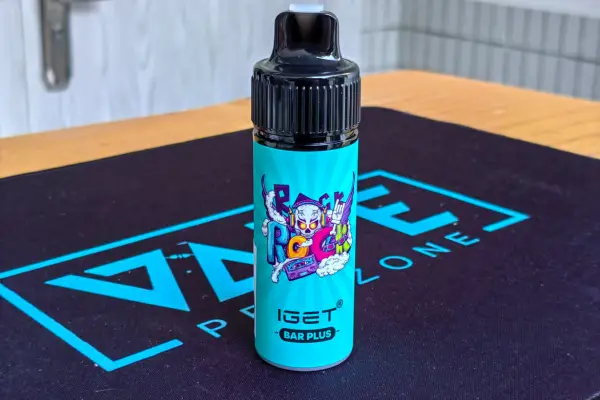
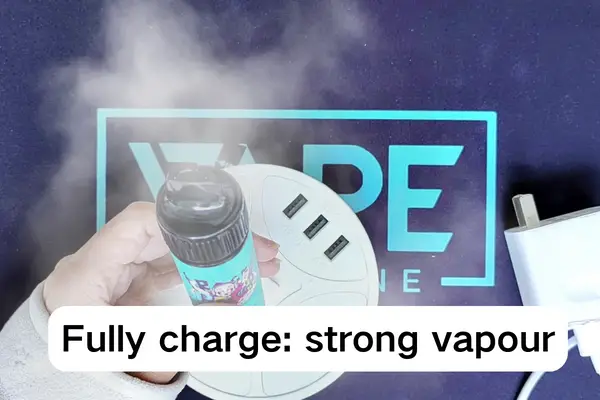
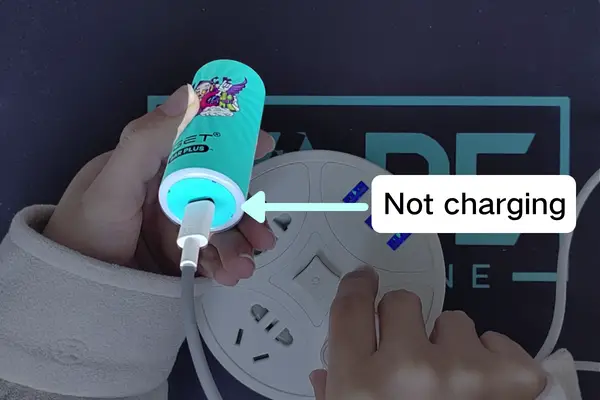
If you want to know how to charge IGET Bar Plus, here is the best IGET Plus charing instruction for you.
Follow the five steps, and you’ll successfully charge your Bar Plus vape:
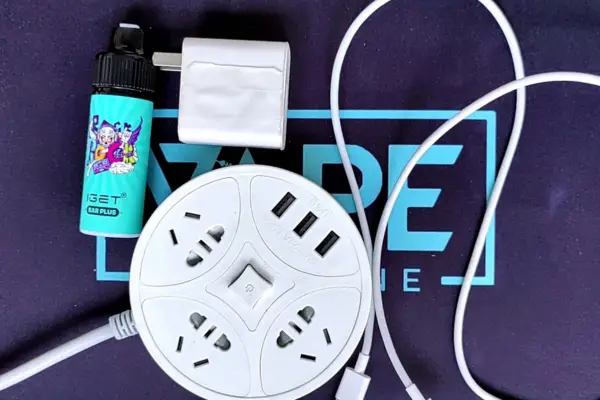
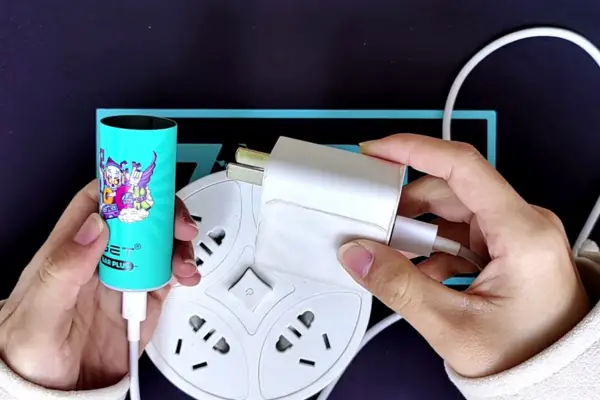
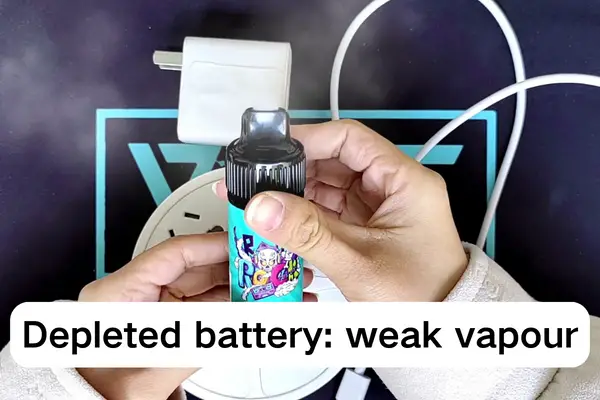
- Prepare depleted IGET Bar Plus, Type-C cable, charger and power supply.
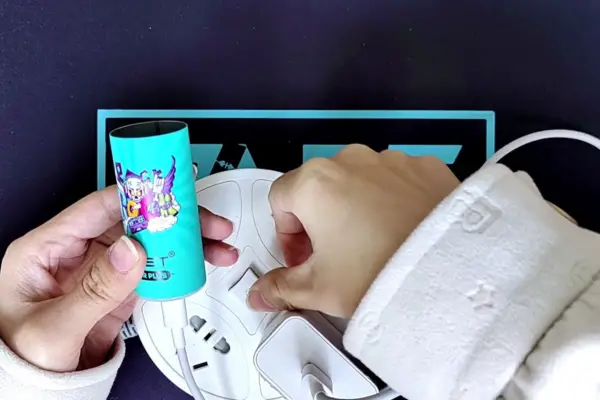
- Connect the charging port to the charger with a Type-C cable.
- Charge and observe whether the indicator light is on.
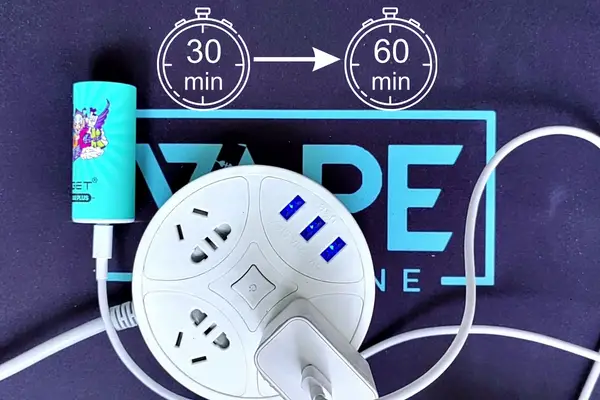
- Wait for 30 to 60 minutes to fully charge.
- Timely unplug and examine your device.
If you want to check more details and learn solutions to not charging, keep reading and revive your IGET Plus Bar!
Introduction Of IGET Bar Plus
IGET Bar Plus is a rechargeable vape with an advanced design and superior performance, which is compatible with the IGET Bar Plus Pod.
To provide you with the safest way to charge at home or outside, we used a Bar Plus until it’s depleted to explore how to charge IGET Bar Plus many times.
Meanwhile, we summarized the non-charging cases and offered disposals according to our experiences. You can’t miss the practical and useful instructions below!
Tool Preparation For Charging IGET Bar Plus
Before we start to show you the steps about how to charge Bar Plus, you have to prepare some essential tools to ensure a smooth charging process, including:
- Depleted IGET Bar Plus
- Type-C cable
- Charger
- Power supply
IGET Bar Plus Charging Instructions: Safe And Simple
Here, to help you better follow our steps, we directly filmed a video as a guide to show the process of charging I GET Bar Plus.
A more detailed explanation can be referred to in the instructions with illustrations, displaying how to charge IGET Bar Plus.
These charging instructions will offer a detailed explanation to show you what and how to charge IGET Bar Plus at every step. Just follow me!
Prepare depleted IGET Bar Plus, Type-C cable, charger and power supply
Before we start to charge Bar Plus, getting the tools ready is important. Type-C cable is essential to establish a connection, which can’t be replaced by other cables.
Meanwhile, we must remind you not to use a charger or cable with poor quality, as they may result in hassles such as sparks.
Connect the charging port to the charger with a Type-C cable
According to our test experience, to avoid the normal case of overheating, you’d better follow the steps to ensure your charging safety.
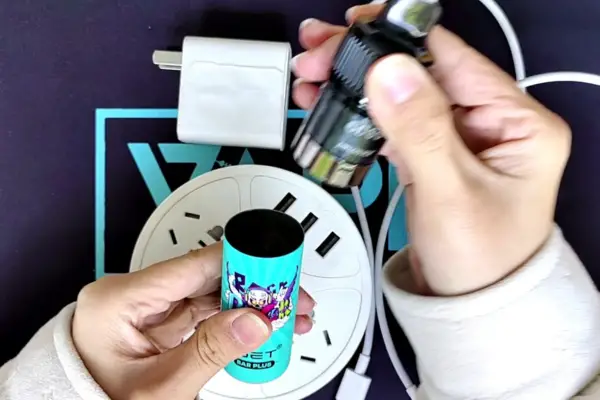
- Take out the cartridge from the device: At the beginning of the charging process, we have to separate the device to protect the e-juice in the cartridge since the temperature may slightly increase.
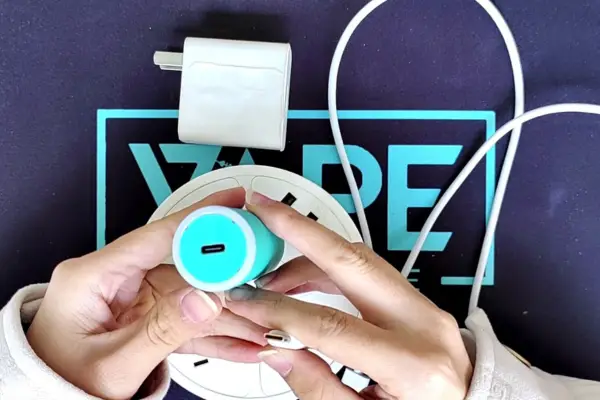
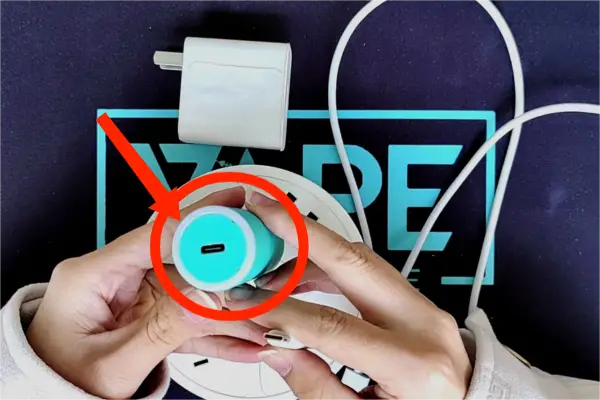
- Locate the charging port: Flip your IGET Plus, and you’ll see the Type-C charging port on the bottom of your vape.
- Insert the cable and charger: One end of the Type-C cable should be completely inserted into the charging port, while the other end to the charger. Examine that your cable is aligned and inserted precisely, which is key to establishing a connection to get charged with the power source.
- Connect to the power supply: Plug the charger and give the power supply.
Charge and observe whether the indicator light is on
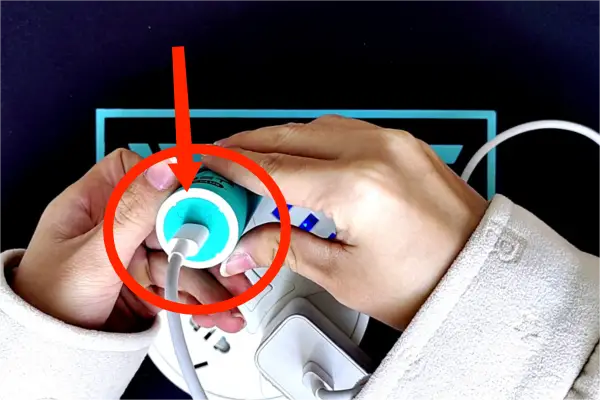
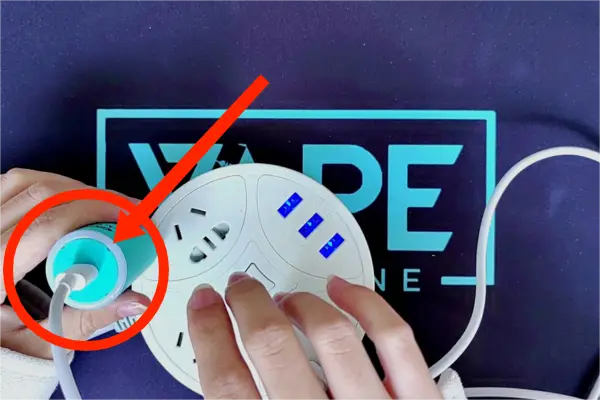
While the Bar Plus IGET begins to charge, you still need to be alert to the indicator light, which is an important signal to display whether the vape is charged successfully.
Typically, the light doesn’t light up before charging, then turns on and remains steady while charging. And it will turn off to show that the charging process is done.
Wait for 30 to 60 minutes to charge fully
Wait For 30-60 Minutes To Charge IGET Bar Plus Fully
There’s no battery indicator in the IGET Bar Plus. You have to keep your eyes on the charging vape to prevent overcharging from overheating or exploding.
It’s advised not to charge for more than one hour, which can ensure premium performance and flavours.
Timely unplug and examine your device
When the bottom indicator light turns off to tell that your Bar Plus is fully charged, you should timely unplug to cut off the power source.
Pay attention to your charging vape, especially when you’re outside. Accurate charge and prompt turning-off can make you greatly hassle-free.
Remember to install the cartridge into the device, during which the indicator light flashes and dims again. You can try to vape to test if it functions properly.
How Do I Know When My IGET Bar Plus Is Fully Charged?
When the indicator light on the bottom of Bar Plus IGET turns on and remains steady, it begins to charge. However, there’s no obvious signal to remind you of the battery level.
Thus, focus on the charging process anytime until you find the indicator light to turn off, which shows a complete charge.
To better sense the full charge, you can also feel the warmth changes on the device when it is charging, for it will give off a slight heat. As time goes on, the temperature will gradually decrease.
Why Is My IGET Bar Plus Not Charged?
If you’ve followed our steps only to find your Bar Plus doesn’t begin to charge with the indicator light turning on, or fails to charge after a long waiting. Here are some helpful disposals for you.
- Check the quality of the charger and cable:
Don’t use outdated chargers or Type-C cables, especially those with low quality. Meanwhile, the voltage and current output of chargers should meet the requirements of the device. - Check the connection with the device and charger:
Make sure to fully insert both ends of the Type-C cable into the bottom charging port and the charger if the connector loosens. Establishing a smooth connection is vital for a successful charge. - Note the taste of vaping:
If you find a bad or burnt taste before charging, it may indicate that the mesh coil inside has become old or burnt out.
In this case, the device usually can’t be charged successfully, and we suggest replacing your IGET Bar Plus flavours with a new one.
Verdict
We suppose that the details of how to charge IGET Bar Plus are meaningful for Bar Plus lovers. Also, following our instructions is important to keep safe while charging Bar Plus IGET.
Charging many times would affect tastes and performance. If you want to keep an exceptional vaping experience, don’t worry,
We’ve found the best IGET Bar Plus Starter Kit with 2 vape kits and 3 pods out of all from the IGET Bar Vape Shop. Your charging experiences or tips for Bar Plus vape are welcome to comment below.
FAQ About How To Charge IGET Bar Plus
Is the Bar Plus IGET rechargeable?
Yes, IGET Bar Plus is rechargeable. Using the IGET Bar Plus is straightforward. As a rechargeable device, you’ll need to ensure it’s fully charged before use.
How long does the Bar Plus vape take to charge?
The usual charging time is between 30 minutes to 1 hour. A long time to charge may cause the battery to be overcharged, leading to negative impacts both on performance and flavours.
How do you activate the IGET Plus Bar?
Simplyremove the silicone cap and inhale from the mouthpiece, and then the IGET Bar Plus can be easily activated and used.
Why isn’t my Bar Plus working?
It may be a loose battery connection. A loose battery might be the culprit if your IGET Plus vape isn’t working post-charge. Gently shake the device after detaching the pod to check for any loose parts.

